a very hungry little
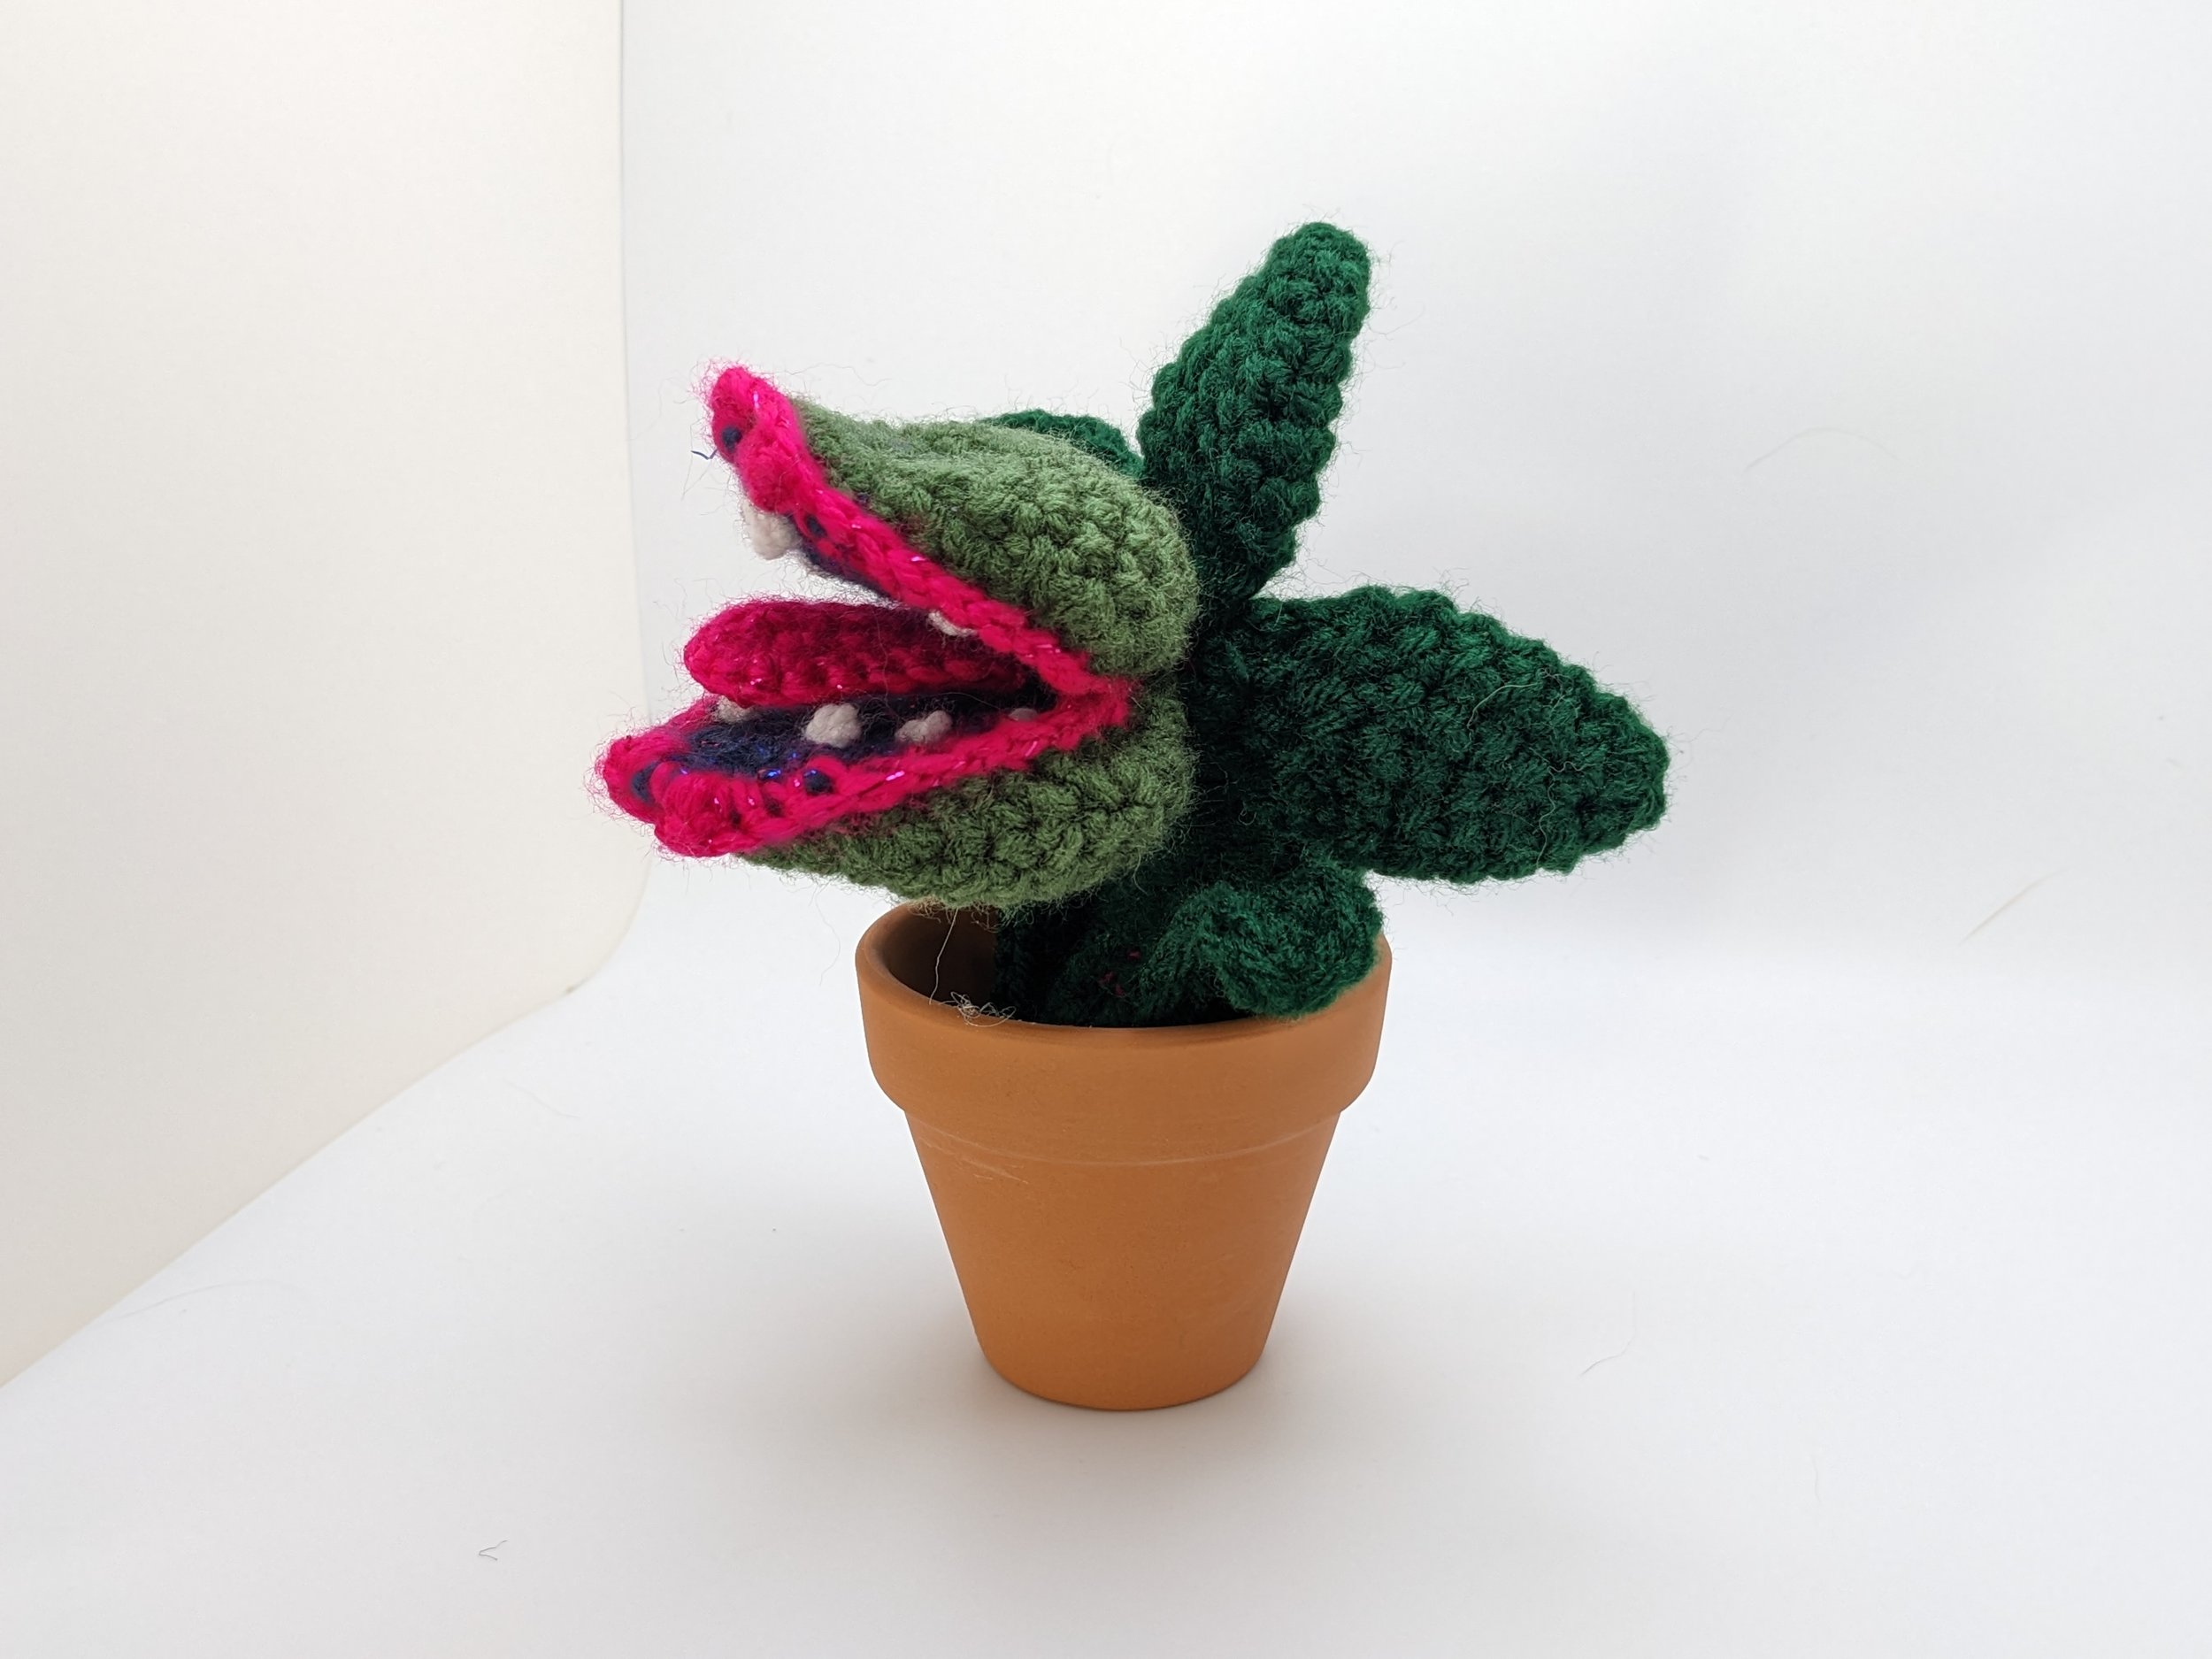
Plant
Tongue (make 1)
With pink yarn, working in rows:
ch 11, sc 10, ch 1, turn (10)
BLO sc 9 times, BLO sc 4 times in last stitch (13)
Do not ch 1 or turn, continue along the other side of the work, sc into the unused loops loops of the stitches used in the last row. This will create a small seam on the back side of the work
FLO sc to end, ch1, turn. (9)
sc 9, inc 4, sc 9, tie off (22)
Inside of Mouth (make 2)
With purple yarn, working in rows:
ch 7, sc 6, ch 1, turn (6)
sc across, ch 1, turn (6)
*inc, sc* 3 times, ch 1, turn (9)
sc across, ch 1, turn (9) 4 rows
sc, dec, sc 3, dec, sc, ch 1, turn (7)
sc across, ch 1, turn (7)
sc 3, dec, sc 2, ch 1, turn (6)
sc across, ch 1, turn (6)
dec, sc 2, dec, ch 1, turn (4)
dec 2, ch 1, turn (2)
slst to the other side of top, making a point, tie off.
Using white yarn, secure to wrong side of work, then create teeth on the right side of work by making 6 - 8 french knots along the perimeter of your work.
Once both are completed hold the two pieces together with the wrong side out and the teeth facing each other. sc the top row together twice, insert the top row of the tongue between the two pieces and sc all three together 2 more times. Finally, sc the last two stitches of the inside of the mouth together and tie off. Set aside for finishing steps.
Head Leaf (make 2)
With green yarn, working in rounds:
6 sc in a magic circle (6)
inc around (12)
sc around (12)
*sc, inc* 6 times (18)
sc around (18)
sc, *inc, sc 2* 5 times, inc, sc (24)
Three rows
*sc 3, dec* 3 times (12)
dec around, tie off. (6)
Tongue (make 1)
With pink yarn, working in rows:
ch 11, sc 10, ch 1, turn (10)
BLO sc 9 times, BLO sc 4 times in last stitch (13)
Do not ch 1 or turn, continue along the other side of the work, sc into the unused loops loops of the stitches used in the last row. This will create a small seam on the back side of the work
FLO sc to end, ch1, turn. (9)
sc 9, inc 4, sc 9, tie off (22)
Inside of Mouth (make 2)
With purple yarn, working in rows:
ch 7, sc 6, ch 1, turn (6)
sc across, ch 1, turn (6)
*inc, sc* 3 times, ch 1, turn (9)
sc across, ch 1, turn (9)
sc, dec, sc 3, dec, sc, ch 1, turn (7)
sc across, ch 1, turn (7)
sc 3, dec, sc 2, ch 1, turn (6)
sc across, ch 1, turn (6)
dec, sc 2, dec, ch 1, turn (4)
dec 2, ch 1, turn (2)
slst to the other side of top, making a point, tie off.
Using white yarn, secure to wrong side of work, then create teeth on the right side of work by making 6 - 8 french knots along the perimeter of your work.
Once both are completed hold the two pieces together with the wrong side out and the teeth facing each other. sc the top row together twice, insert the top row of the tongue between the two pieces and sc all three together 2 more times. Finally, sc the last two stitches of the inside of the mouth together and tie off. Set aside for finishing steps.
Small Back of Head Leaves (make 2)
With green yarn, working in rounds:
6 sc in a magic circle (6)
sc around (6)
*sc, inc* 3 times (9)
sc around (9)
sc, *inc, sc 2* 2 times, inc, sc (12)
sc around (12)
dec around (6)
fold in half so the work lies flat and the stitches of the previous round line up with each other.
sc closed, tie off. (3)
Larger Base of Plant Leaves (make at least 2)
With green yarn, working in rows:
ch 16, sc 15, ch 1, turn (15)
BLO sc 5, BLO hdc 4, BLO dc 5, BLO tc 4 times into the last stitch. (18)
Do not ch 1 or turn, continue along the other side of the work, sc into the unused loops loops of the stitches used in the last row. This will create a small seam on the back side of the work
(all stitches in row FLO): TC 4 times in first loop, dc 4, hdc 4, sc 4, slst 2 times (18)
Tie off by slipping both the working yarn tail and the starting yarn tail through the loop. Using a yarn needle, sew the two tails back through the leaf pulling tightly and securing during the process to create the desired amount of curve to the leaf. sew through the triple crochets at the bottom of the leaf and tie the tail at the end to secure, making the tail come off of the work like a stem would.